 |
| ModPodge-God's other gift to crafters |
- glitter color of choice (doesn't matter whether it is chunky or fine, I just had chunky on hand)
- ModPodge (I have tried it with Elmer's glue.. it holds for awhile, then flakes off and is annoying. I call this a craft fail. If you don't own modpodge, invest in it. It lasts forever and you will love your life.)
- A key (duh)
- Paintbrush (doesn't matter which size, I have used two different sizes. I will say that the one with a smaller brush head was more effective)
- Small container to place your key in
Wash your key off (no soap necessary, just make sure there is no oil/grease from your fingers). I recommend using a paper towel, you can fold it up and put it underneath your key in your container to catch any glue or glitter. (Mess reducer, yes and amen) At this point you want to start painting on your ModPodge.
 |
| smothered and covered |
 |
| thin layer only! |
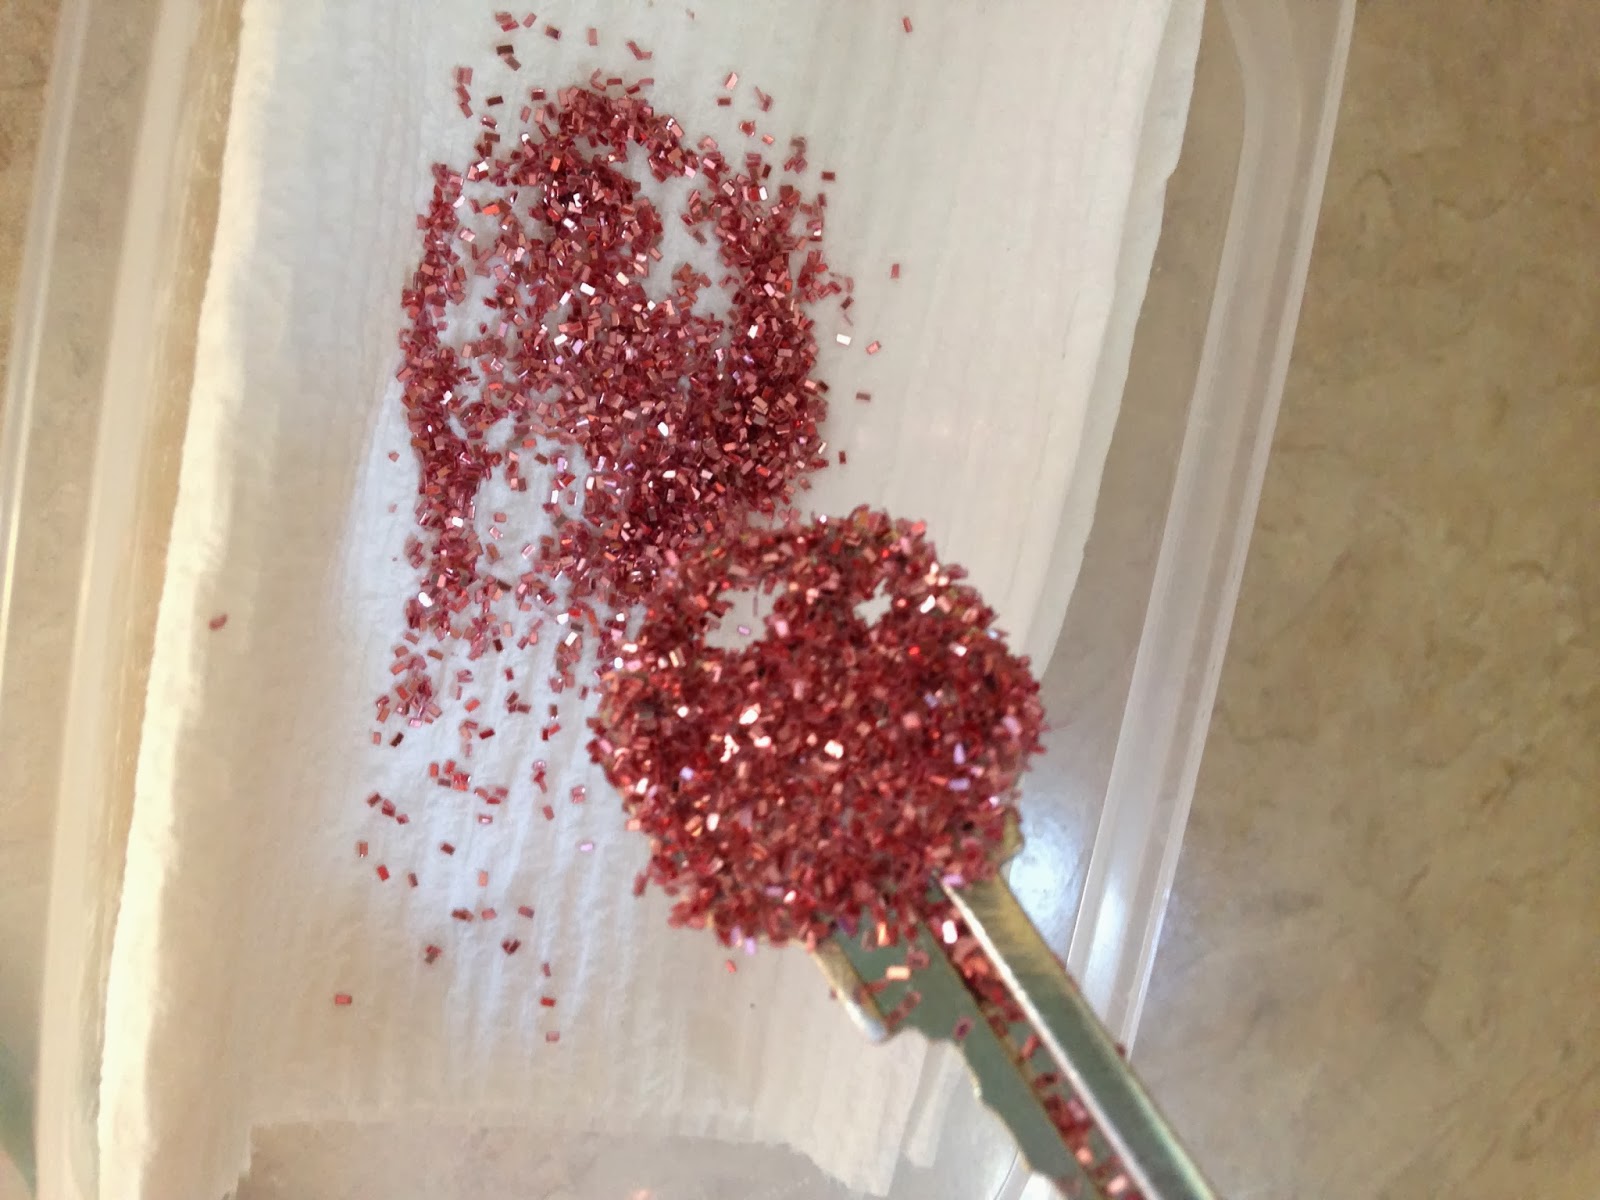
Next, you can just sprinkle glitter on the key! Completely cover that sucker.
Tap your key on the side of your container to shake off the excess and boom!
Now you have a brand new sparkly key! I would advise you to let it sit for at least thirty minutes to dry completely. (Tip: once your key is dry-and I mean totally, has set for at least thirty minutes to an hour dry-you can coat it with another thin layer of modpodge to seal it.) Slide it on your keyring and flash it around! Enjoy!
-nicole


No comments:
Post a Comment